skip to main |
skip to sidebar
23:21
Unknown
To begin, you need to download four things:
1. Virtualbox itself. You can get it from Ubuntu software center or from Virtualbox website. I have 4.1.18 for Linux, you can download for windows or mac as well, depending on your system. And install it.
2. Download the latest Android 4.0 version from Buil Droid. It is the OS which we'll be loading in virtualbox, 109.1 MB in size.
3. Android SDK files - the default android installed without any Play
Store or apps. To install apps, you need it installed in your system.
You can download it from here. Step by step instructions to install are given in the site itself.
4. Apps by by314 from this deposit files.
It has some cool app collection like gmail, google maps, play store,
etc. which we'll install in the vanilla android OS which we downloaded
in couple of steps before.
Step 1: Once virtualbox is installed and Ova file from Buil Droid is
downloaded, double click on the Android-4.0.3_bd2a.ova file.
Automatically, it will install itself in virtualbox with predefined
settings.
Click import and you'll see Android-4.0.3-bd2 in virtualbox.
Select it and press Enter, Android ICS will start and show you the grub.
Continue with the second option selected and it will boot Android.
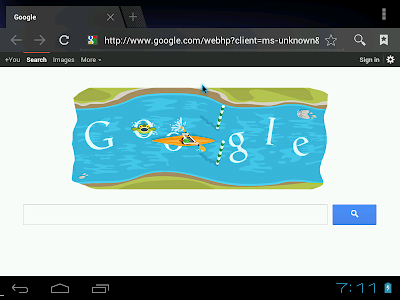
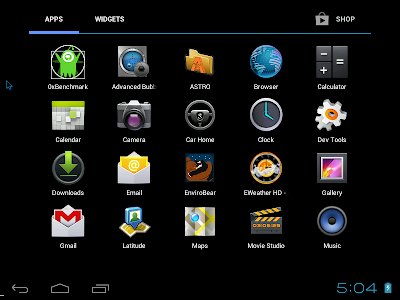
You'll see the default Android screen, like the one given below (this is
after I changed the black-blue wallpaper and installed a few apps).
Open browser, internet should work. If it doesn't, go to virtualbox,
select Android 4.0.3 bd2, click setting -> Network -> select
Bridged Adapter as Attached to and wlan0 (if wifi) or eth0 (if your
default system internet is through lan cord). Again restart Andriod,
internet should work.
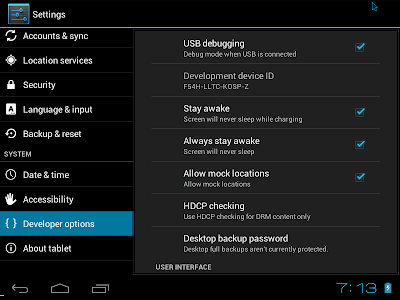
It will vanilla Android. In step 2, we'll install some cool apps along
with market/play store. For that, go to Setting -> check about tablet
to confirm you've Anroid 4.0.3 and finally go to Developer options
-> check USB debugging for the outside system to connect to the
Android inside virtualbox.
Step 2: In step 2, unzip (for Linux) install Android SDK to your linux
or windows from the file you downloaded earlier. Installation will take a
bit of time depending on internet connection. Follow the default
instruction link provided in the Android SDK site.
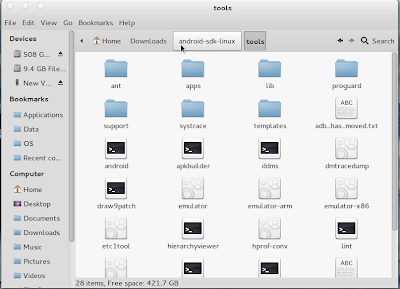
Go inside Android-sdk-linux -> tools folder (for Ubuntu, Windows 7 one is easy, one simple .exe file), and click on Andriod.
Once installed, unzip the apps you had downloaded earlier. It has a
folder named gapps_buildroid_modby314 inside. I purposively unzipped it
inside ./Home/Arindam/Downloads so that I can access it easily via
terminal.
Now open a terminal. Locate the adb file in the Android-sdk-linux -> platform_tools directory.
Another thing which is required is the IP of the Android distro. This is
required as well are going to launch a FTP service to push the apps
inside Android. I had the advantage of having scores of Linux distros
inside my virtualbox and I checked ip configuration on one of them &
found it be 192.168.1.4. So, I tried 192.168.1.5 onwards (my actual
system has 192.168.1.3) and 192.168.1.6 worked.
To check if it is working, I opened browser inside Android OS running
and typed in my system Linux (which is the main OS in my computer)
terminal:
arindam@arindam-K55VM:~$ /home/arindam/Downloads/android-sdk-linux/platform-tools/adb connect 192.168.1.6
and it showed "connected to 192.168.1.4:5555". If it is unable to
connect, it will show the same. Kind of trial and error method, but I
didn't find any other method that worked for me.
Once you're able to connect, type
arindam@arindam-K55VM:~$ /home/arindam/Downloads/android-sdk-linux/platform-tools/adb remount
followed by
arindam@arindam-K55VM:~$ cd ./Downloads/gapps_buildroid_modby314
to move to the directory where your apps are.
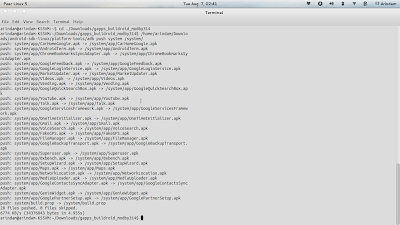
And then we'll start pushing the apps by
arindam@arindam-K55VM:~/Downloads/gapps_buildroid_modby314$
/home/arindam/Downloads/android-sdk-linux/platform-tools/adb push system
/system/
You'll see something of a screen below:
Once complete you'll see all the applications that we pushed inside
Andriod. Close the browser that you had opened earlier and check the
apps installed, you'll see gmail, playstore, maps, gtalk, etc.
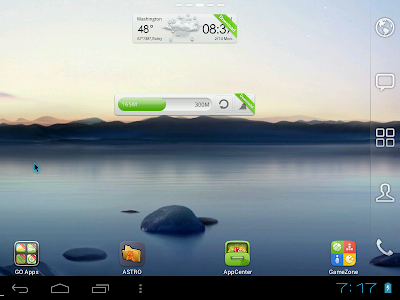
It has superuser & terminal emulator as well. I installed GO Launcher EX from Play Store as well along with other free apps.
However, still this installation has quite a few limitations, like
Facebook apk doesn't work with it, neither temple run. I'll do some
research on how to make these fun apps work with the laptop
installation; if I find something useful, I'll document it in my blog.


0 comments:
Post a Comment